Several TEVans have reported a common shifter lock/release lever failure. This pg. is dedicated to a review of the shifters repair procedure. Dodge used a custom shifter assembly for the TEVan that included a plastic rod connecting the upper release lever with the mechanism below. That rod traveled up and down inside the shift shaft, and that plastic rod has a tendency to fail. Note the Allen screws in this first picture, highlighted by the green arrows.
Remove the shifters guidance mechanism by removing the four (4) Allen screws, note the green arrows.
Note the four removed screws highlighted by the green arrows. The shifters guidance mechanism can now be removed. BTW, this repair, although pictured on the bench, can be completed without removing the shifter assembly from the TEVan.
The green arrow here shows the position of the pin securing the lower attachment point of the plastic rod. The goal of this disassembly is to access and remove this pin.
An additional angle on the lower pin assembly.
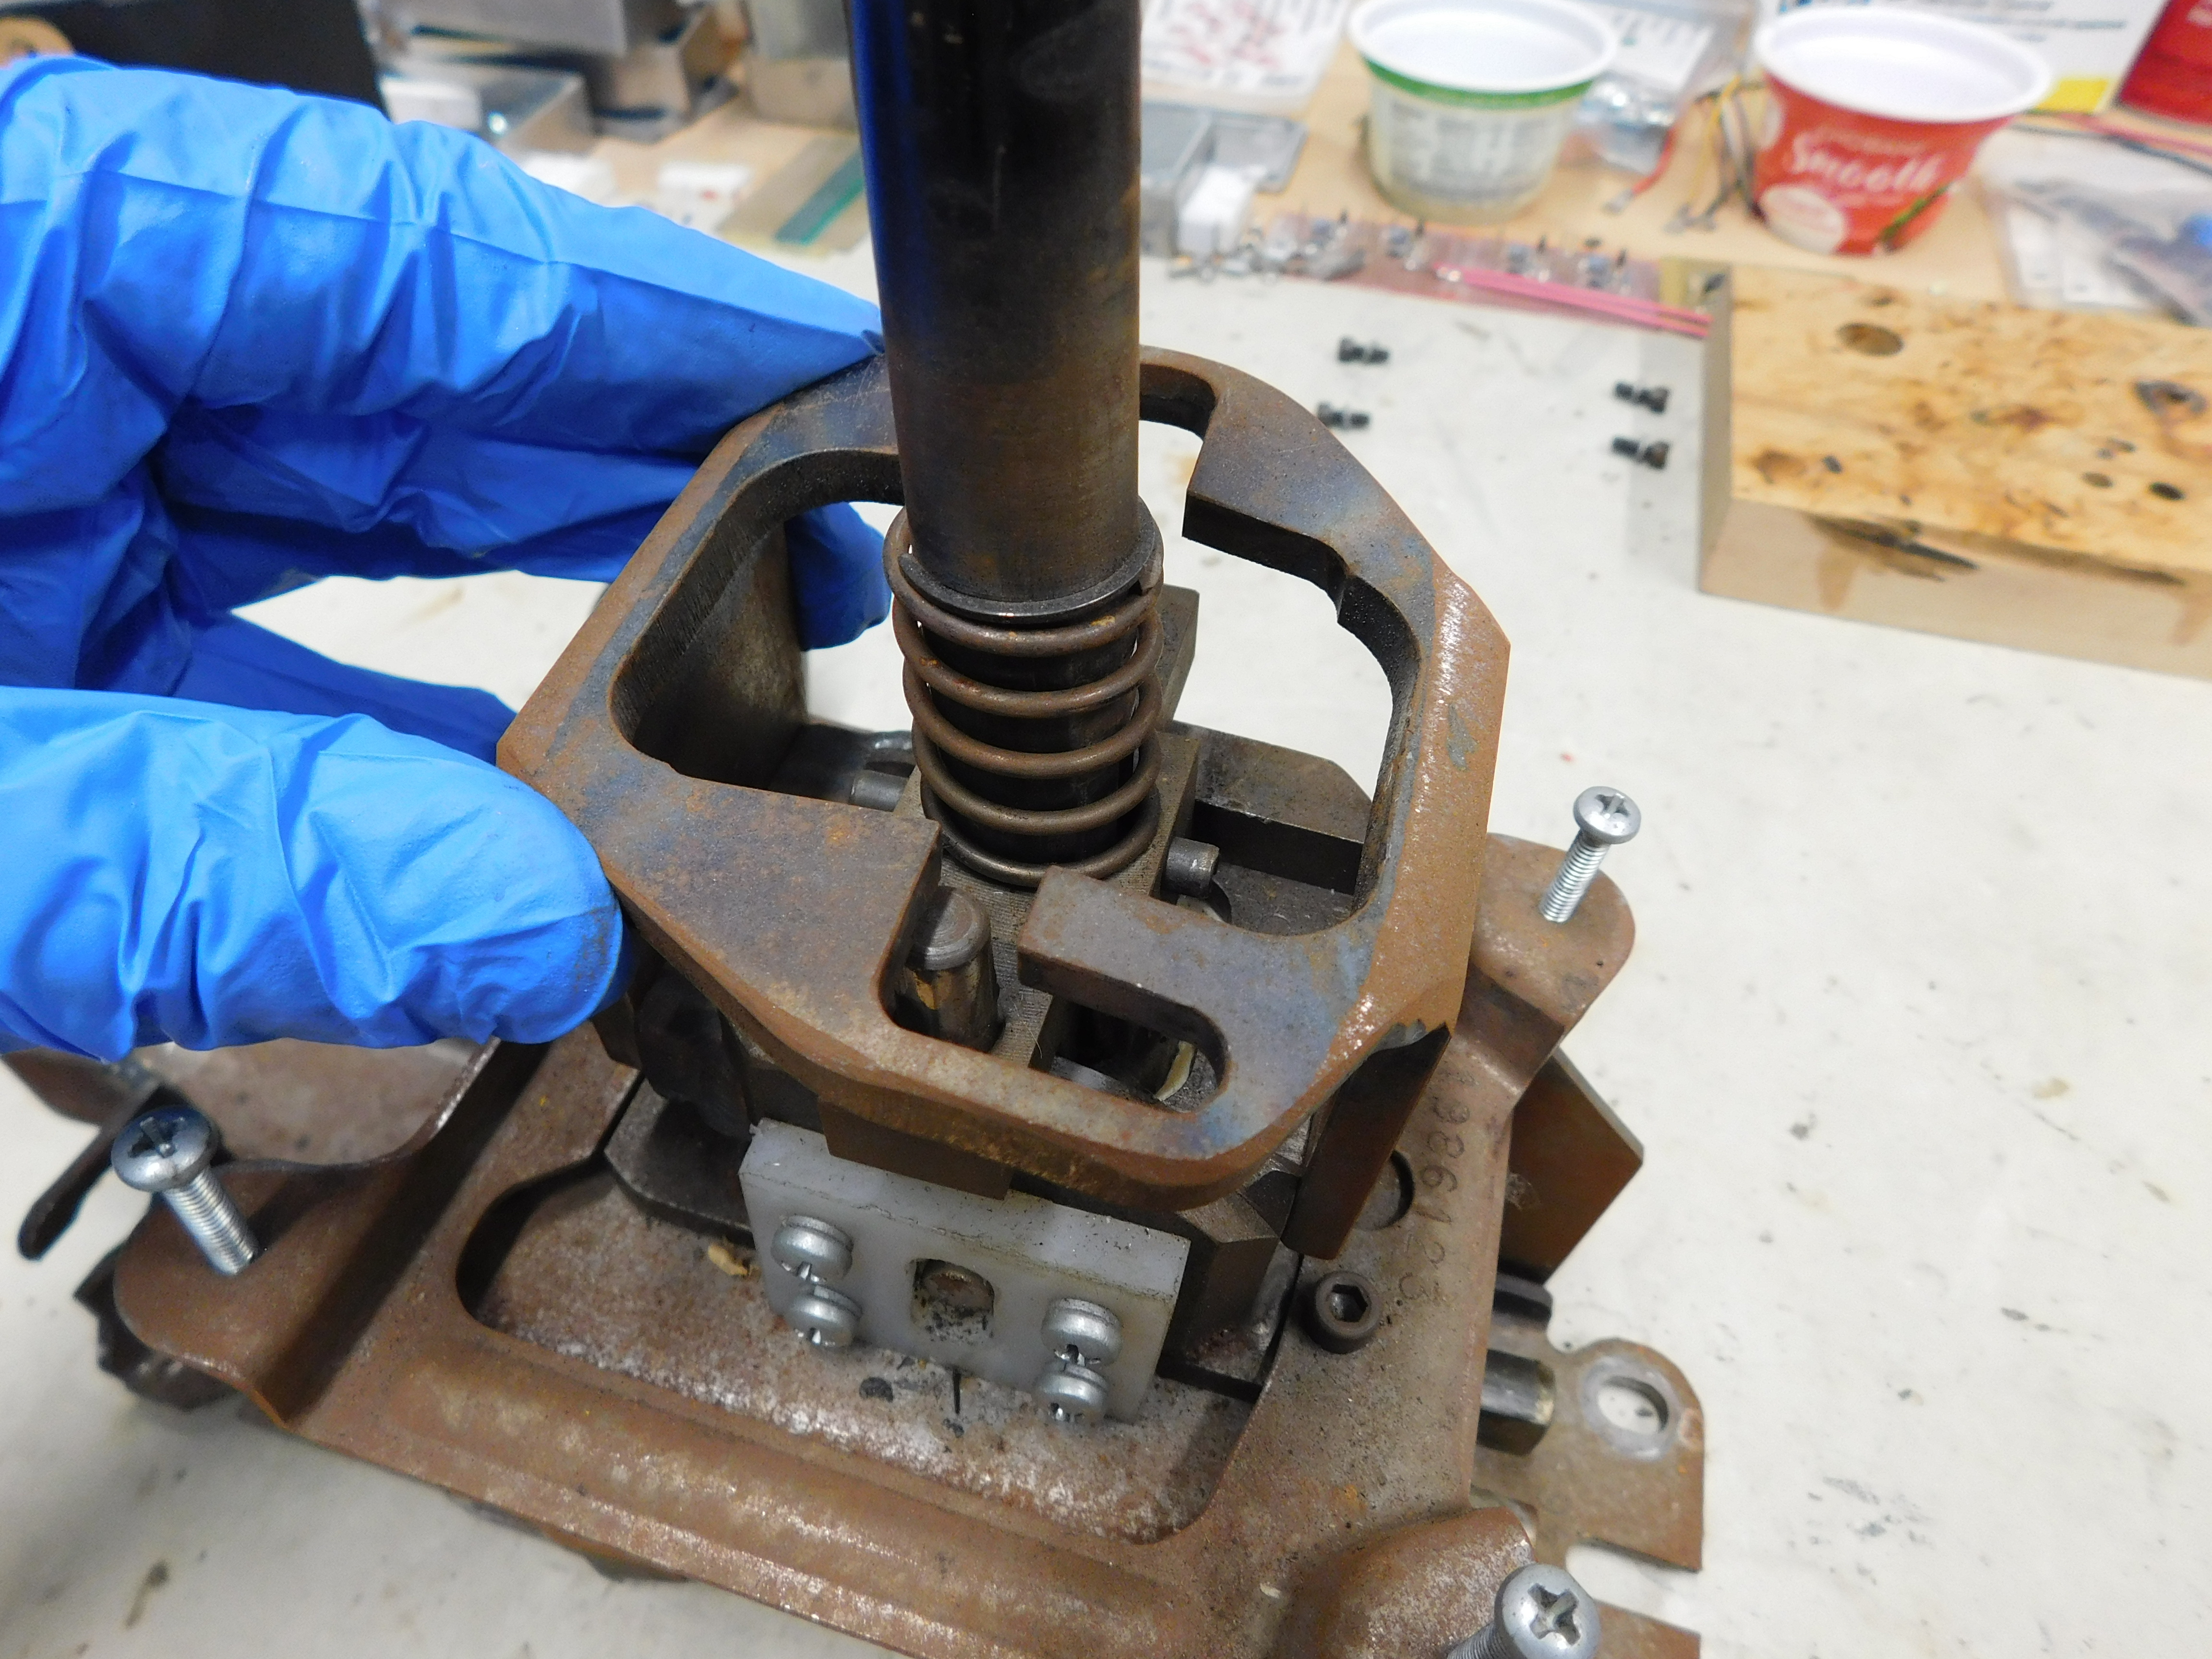
Tap out the pin, to either side, to release the lower rod for removal. The pin can stay seated in one side of the shift lever assembly, full removal is not necessary as long as the pin clears the failed plastic rod.
This picture shows the passage where the plastic rod travels up and down. The upper end of the rod attaches to the lever below the shift knob and the lower end of the rod attaches to the lower pin. The green arrows show the rods movement.
These are the plastic rods. The broken rod to the right. The common failure point is the upper attachment to the shift lever. The red arrow indicates the approximate original length of the rod. On the bottom of the rod are two (2) holes, highlighted by the green arrows, for the lower attachment pin. The TEVans shifter uses the lower hole as noted by the orange arrow. The upper hole is not needed for the TEVans application but is likely used in other Dodge/Chrysler applications (as discussed below).
A closeup of the broken rod highlighted by the red arrow.
This is a closeup of the top of the shift lever. There should be two (2) pointed arrow type hooks on the top of the lever that press on each side of the upper rods securing points. This picture shows a broken hook (missing) feature on the right highlighted by a red arrow, and an intact hook on the left, highlighted by the green arrow. These two small hooks are essential to properly securing the plastic rod to the shift lever. The secondary upper securing mechanism is a 1/16" hole and cotter key above the securing arrows. This secondary mechanism was a poor design choice. Our repair eliminated the cotter key in favor of a 0-80 screw, washers and nut pressing a flattened copper tube over the plastic arrows. This modification essentially pressed the arrows to rod helping secure the pressure points.
This picture, although of poor quality (our apologies), is a view of the top of the shift lever. The round circle in red shows where the center of the shift lever travels up and down inside the shift shaft under the shift knob and the red box shows how it is connected to the outside of the shift lever. Looking closely you can see the original 1/16" cotter key in place inside the red circle.
On one of our TEVans this tag was secured to the bottom of the shifter assembly. Likely denoting the original supplier of the custom assembly for the TEVan production run in 1993.
When we acquired the TEVan the shift mechanism was already broken; however, the previous owner had placed a spare shift assembly from a different vehicle model in the spare parts. That shifter is pictured here and used the same plastic rod assembly as the TEVan, but utilized the upper of the two pin holes. We have, to date, been unable to identify what other vehicle(s) used this unique plastic rod and therefore have been unable to find PNs or spares. If anyone out there knows what vehicle this shift assembly originated in, or a source for the TEVan plastic rods, we would appreciate that information via " tevan (at) tzev (dot) com "


